
Paint
Last updated
Paint puts strokes straight onto a layer. There are three tools in the toolbar for this:
| Tool | Does |
|---|---|
| Brush | Paints the fill colour. |
| Clone stamp | Copies pixels from elsewhere on the same layer. Alt-click sets the origin point it copies from, then paint. |
| Eraser | Similar to Brush, but instead makes the area of the layer the stroke covers transparent. |
Brush size, shape (round or square), hardness, opacity and pressure appear in the tool options while using a paint tool.
Pressure
Section titled “Pressure”With a graphics tablet, pressing harder makes a wider mark. The Pressure tick in the tool options turns it on and off per brush.
Pressure sets the width of the mark and nothing else. The stroke carries the pressures it was drawn with.
Strokes are paths
Section titled “Strokes are paths”What Lumit stores is the drag information (the path, colour, size, hardness, opacity), which is composited into the layer each time the frame renders. This means painting at quarter-resolution preview will still export at full quality.
Strokes are composited before masks and effects: a mask gates the painted picture, and effects will operate upon strokes as if they were part of the original layer’s source.
Editing strokes
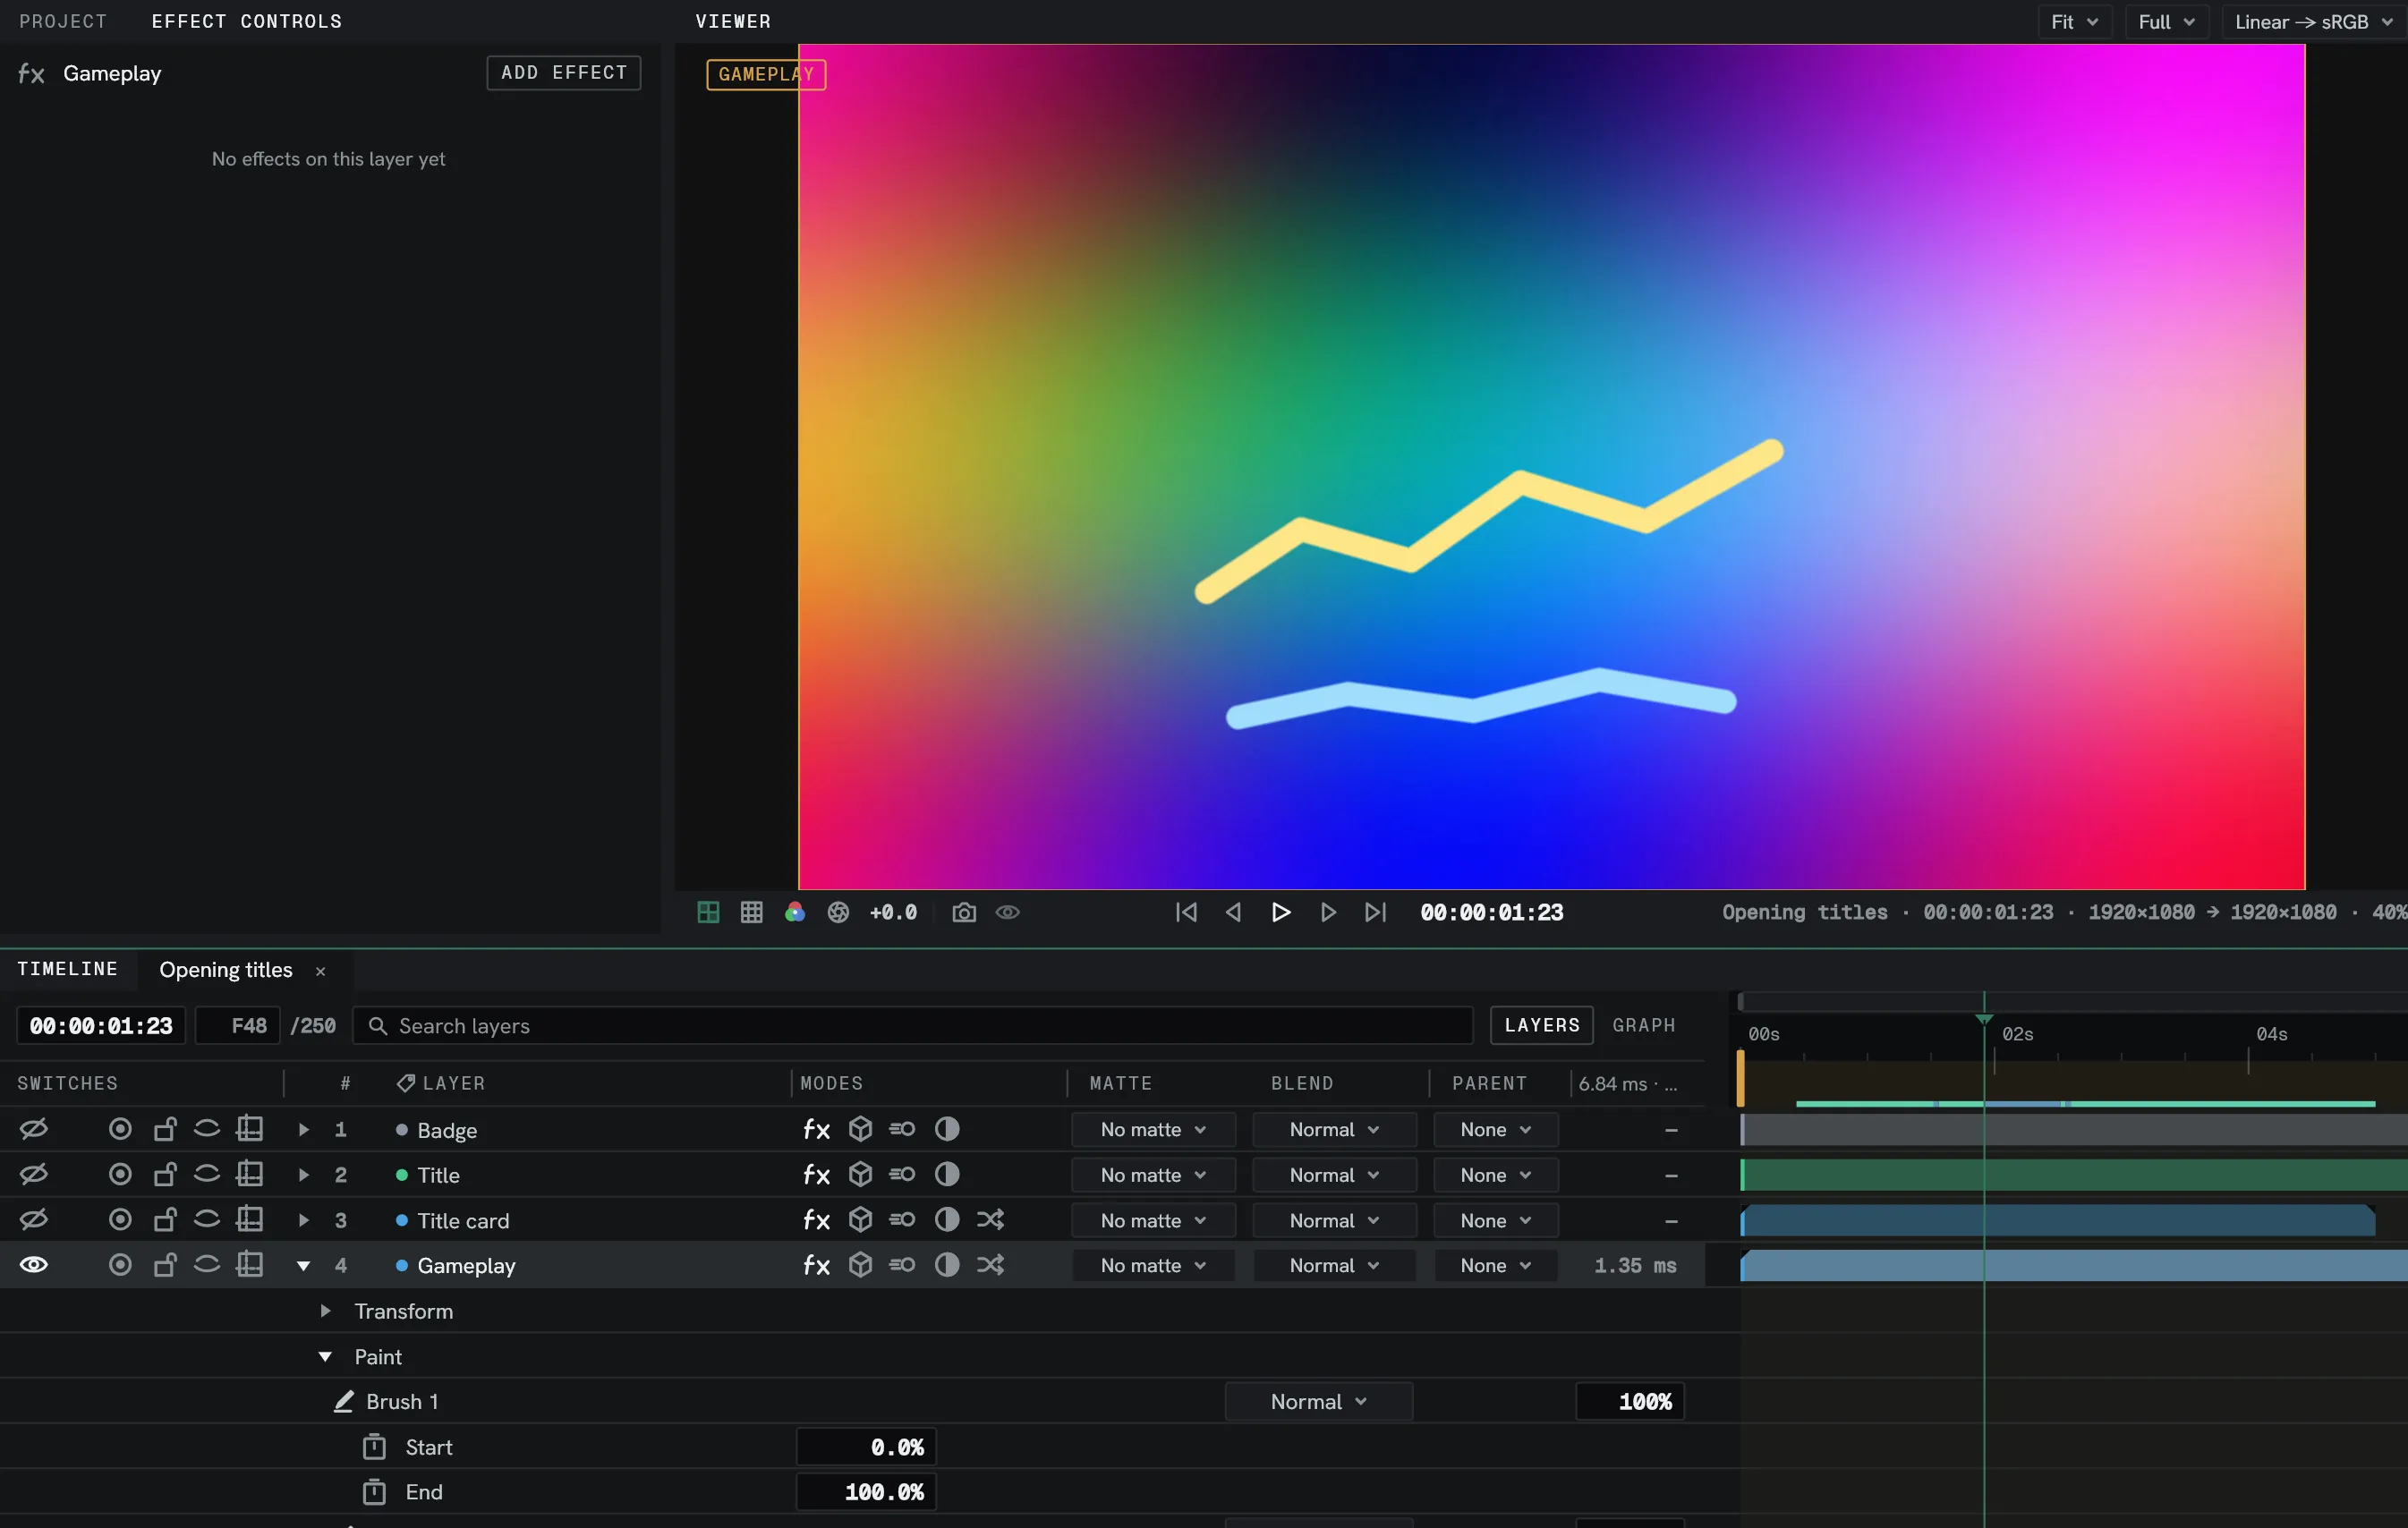
Section titled “Editing strokes”- A layer’s strokes are listed under a Paint heading in the Timeline when the layer is twirled open.
- Each stroke is a single undo.
- A brush, clone or erase stroke’s strength can be reduced later by lowering its opacity.
- Start and End under each stroke trim it by a percentage of its own length, and both are keyframable.
- Each stroke picks a blend mode from the same list a layer does. An eraser ignores it.