
Timeline
Last updated
The Timeline has two halves: the outline on the left, naming layers and their properties, and on the right either the lanes or the graph.

Layers and Graph
Section titled “Layers and Graph”Two mode tabs sit at the far right of the panel’s header, with the playhead’s time and frame number at its far left. The outline is the same in both modes; switching mode changes what is drawn against time, and nothing else.
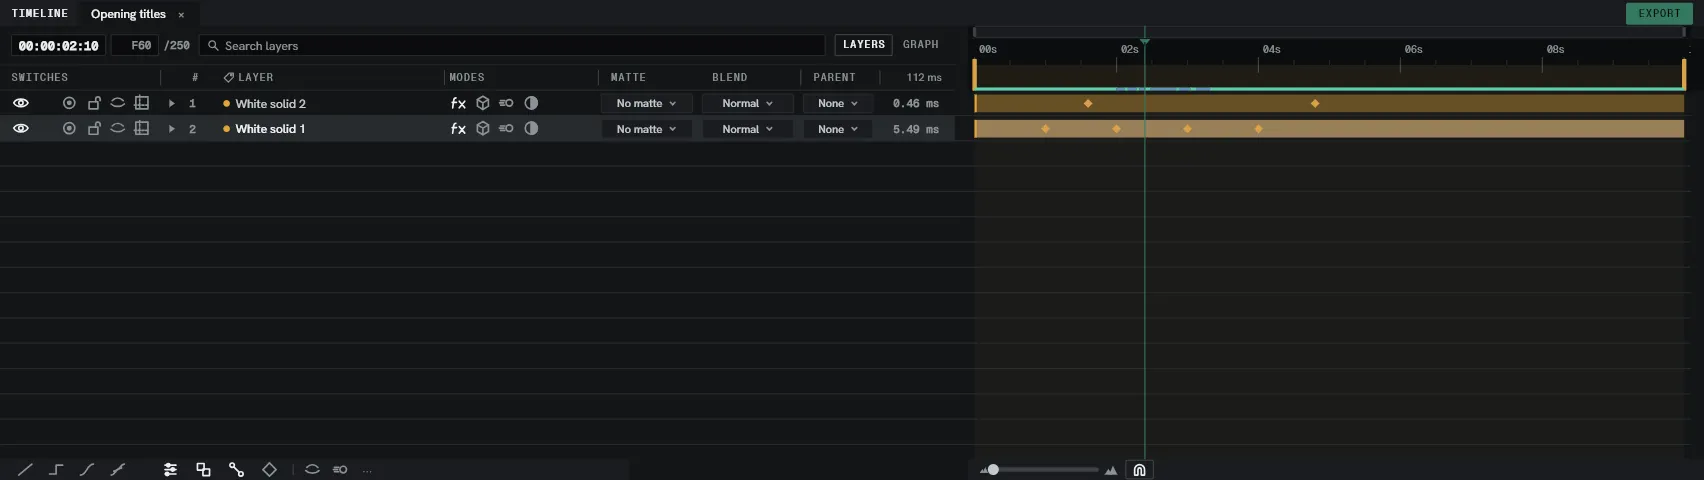
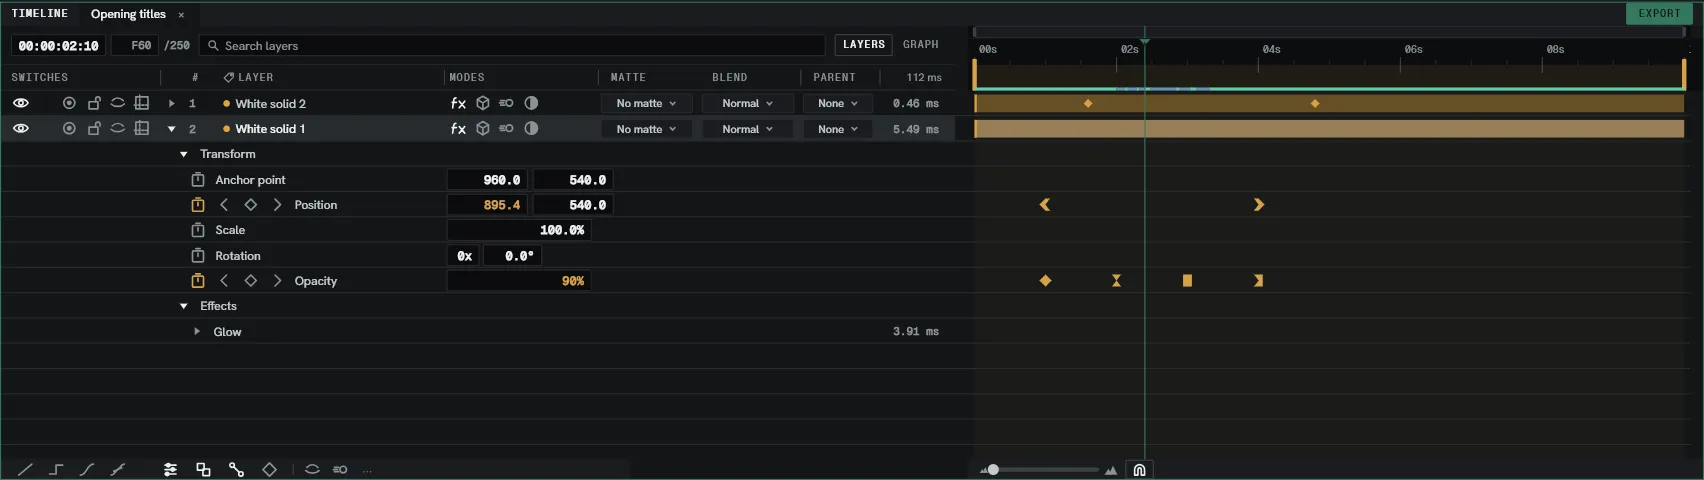
Layers draws each layer as a bar, with a lane per property once the layer is twirled open. Shut, a layer’s keys are summarised as diamonds within its own bar.
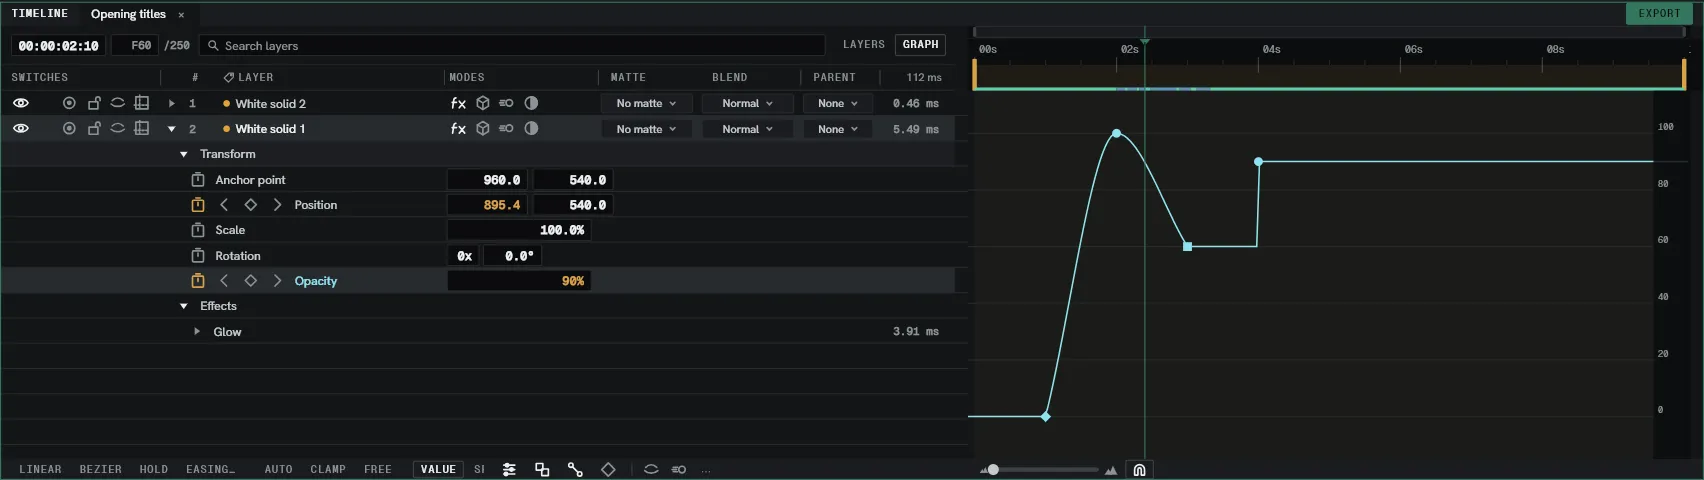
Graph draws the curves. A property’s curves are on the pane while its row is selected in the outline. The curves share one value scale.
The Animated filter
Section titled “The Animated filter”U, the shortcut, lists only properties that have keyframes, across every layer.
Beside it, the shy filter hides every layer with its shy switch on, and a master motion blur toggles motion blur for all layers in the composition with the switch on.
The ruler
Section titled “The ruler”| Item | What it is |
|---|---|
| Work area | The stretch that plays and exports. Drag either end; it defaults to the whole composition. |
| Markers ribbon | Composition markers. |
| Layer markers | Markers sitting on a layer. |
| Beat markers | Markers placed by Composition ▸ Detect beats. |
| Cache bar | Which frames are cached, coloured by which tier they are in. |
The outline columns
Section titled “The outline columns”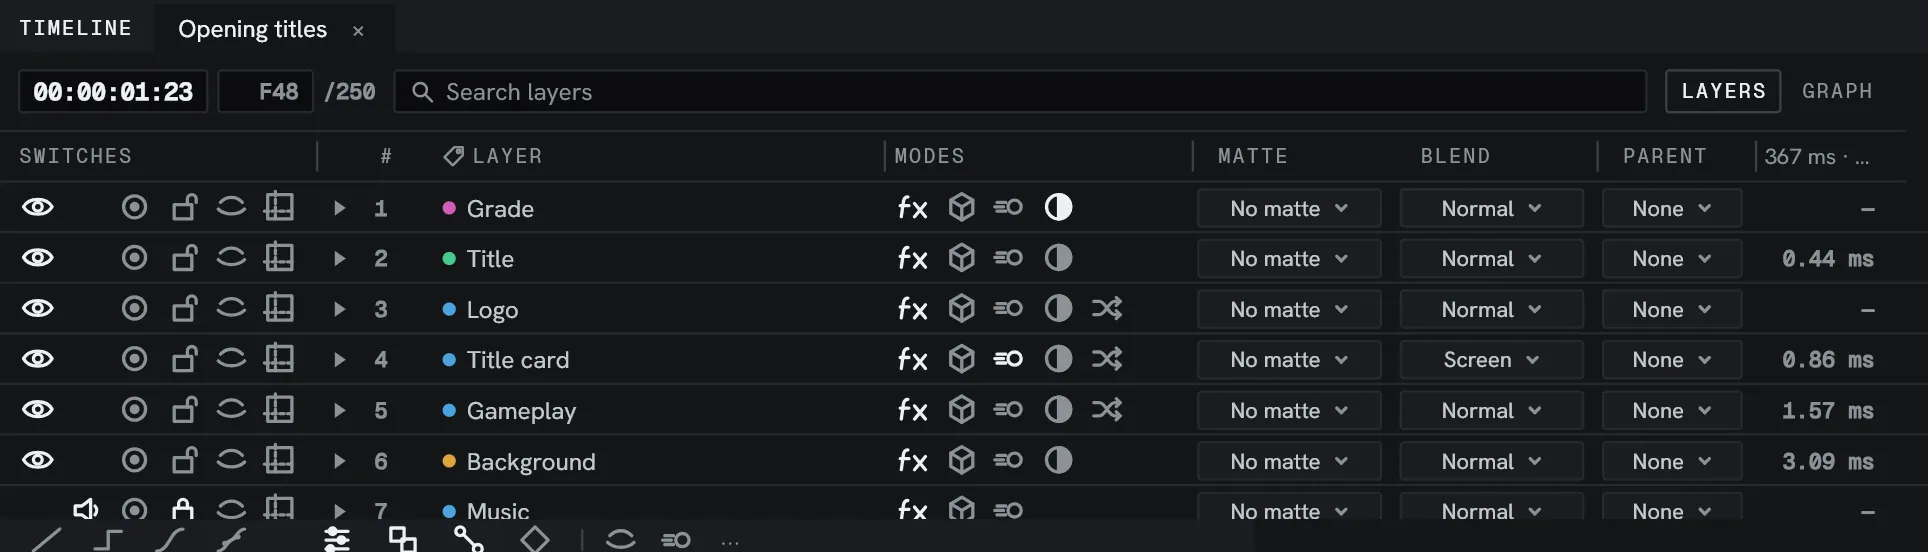
Left to right: Switches, Layer, Modes, Compose, Parent, and the render times.
| Column | Holds |
|---|---|
| Switches | Visibility, mute, solo, lock, shy, guide. |
| Layer | Twirl, label colour, layer number, name. The one column that stretches. |
| Modes | Collapse, flow, disable effects, motion blur, 3D, adjustment. |
| Compose | Matte and blend mode. |
| Parent | The parent picker. |
Drag a column heading to reorder the groups, and drag a seam to resize one. Toggles on the bottom bar show and hide Switches, Modes and Parent, you can also manually adjust the column widths for several of these to hide items if they aren’t needed.
Switches is what the Timeline keeps about a layer, and Modes is how the layer is rendered. See Layers.
The lanes
Section titled “The lanes”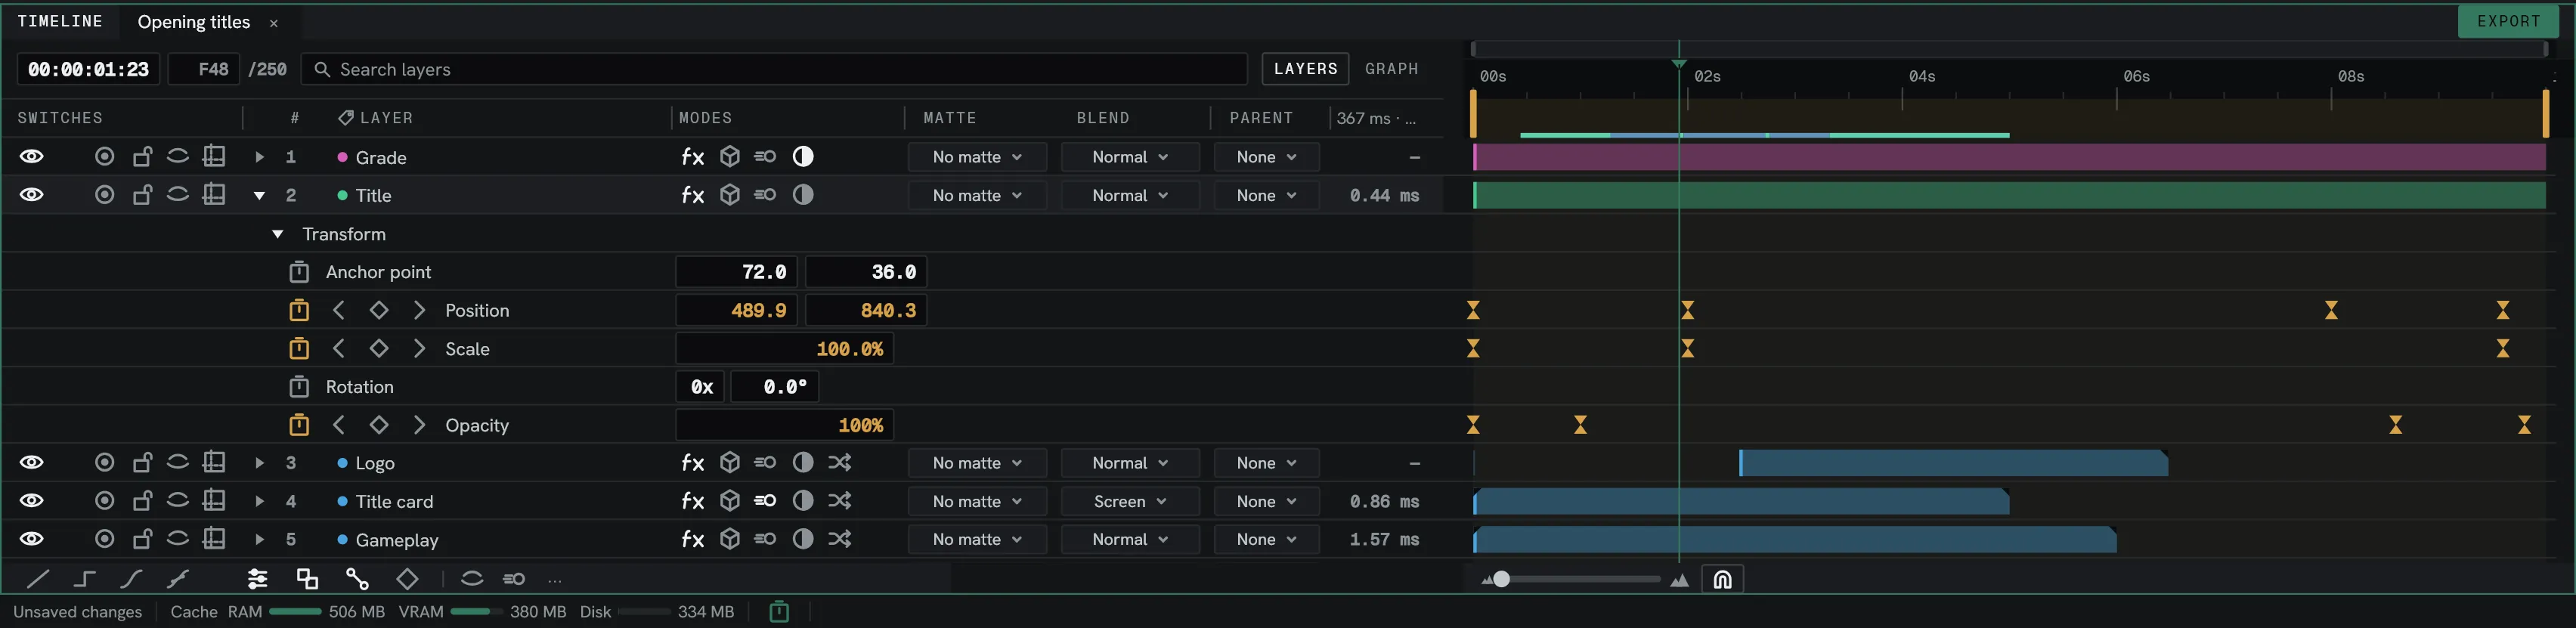
Each layer has a bar showing when it draws. Drag the bar to move it, and either end to trim it. A trimmed layer keeps a faint outline of its full source extent.
Twirl a layer open and its transform, masks, effects, flow options, paint strokes and shape contents appear beneath it, each on a lane of its own.
A Sequence layer draws its clips on one row.
On a node graph composition the Timeline draws one row per box, with a lane per parameter once the box is twirled open. A box has no span, so there is no bar.
Moving about
Section titled “Moving about”- The wheel scrolls the rows.
- Shift+wheel scrolls sideways.
- Ctrl+wheel zooms time, anchored on the pointer.
- A middle-button drag pans both ways at once. The outline moves with the lanes.
Editing keyframes in bulk
Section titled “Editing keyframes in bulk”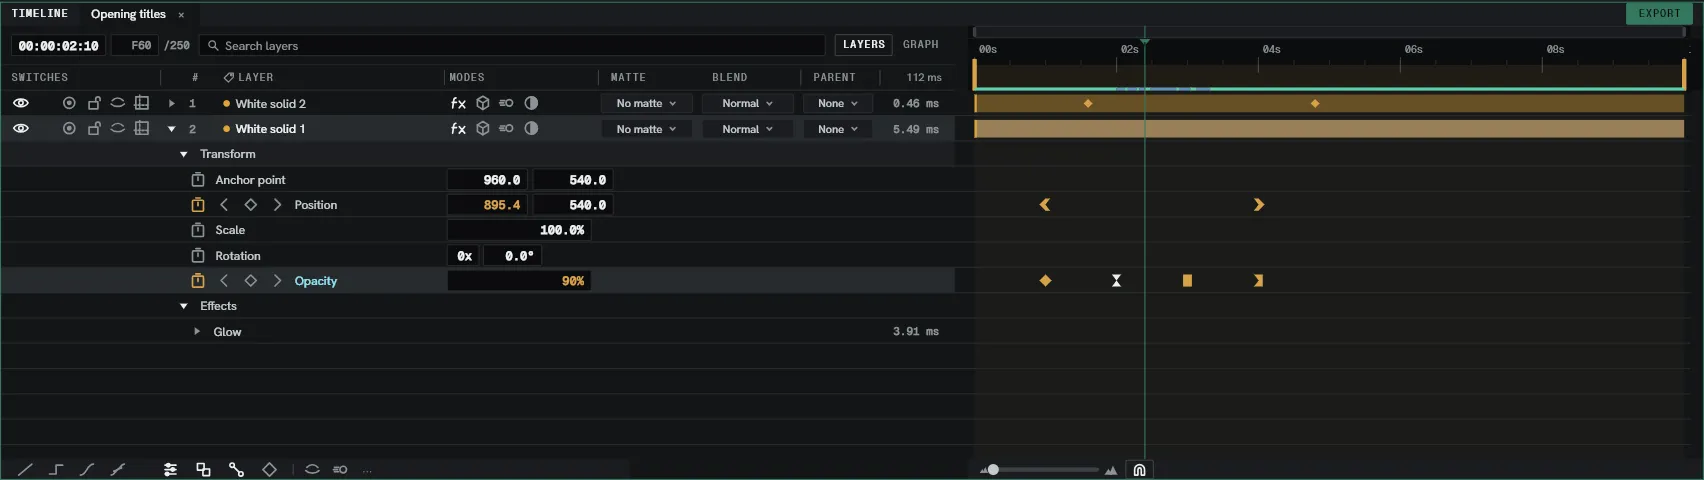
Sweep a box over the lanes and every keyframe inside it is selected, across as many properties and layers as the box crosses. The selection is drawn as a block with a badge reading how many keys it holds and how many frames it spans.
- Drag the block’s body to move every key together.
- Drag an end handle to stretch the whole block — the keys inside keep their proportions.
- The magnet on the bottom bar decides whether a dragged key snaps to whole frames.
The strip along the bottom bar acts on whatever keys are selected: Interpolation — Linear, Hold, Ease, Bezier.
Render times
Section titled “Render times”The stopwatch on the bottom strip turns on render-time measuring. Each layer’s row shows how long that layer took on the last measured frame in milliseconds, each effect’s heading shows its own, and the column heading carries the whole frame’s. A Precomp layer’s number includes everything inside it.