
Masks
Last updated
A mask is a bezier path on a layer that gates the layer’s alpha. Use one to show part of a layer and hide the rest.
Draw a mask
Section titled “Draw a mask”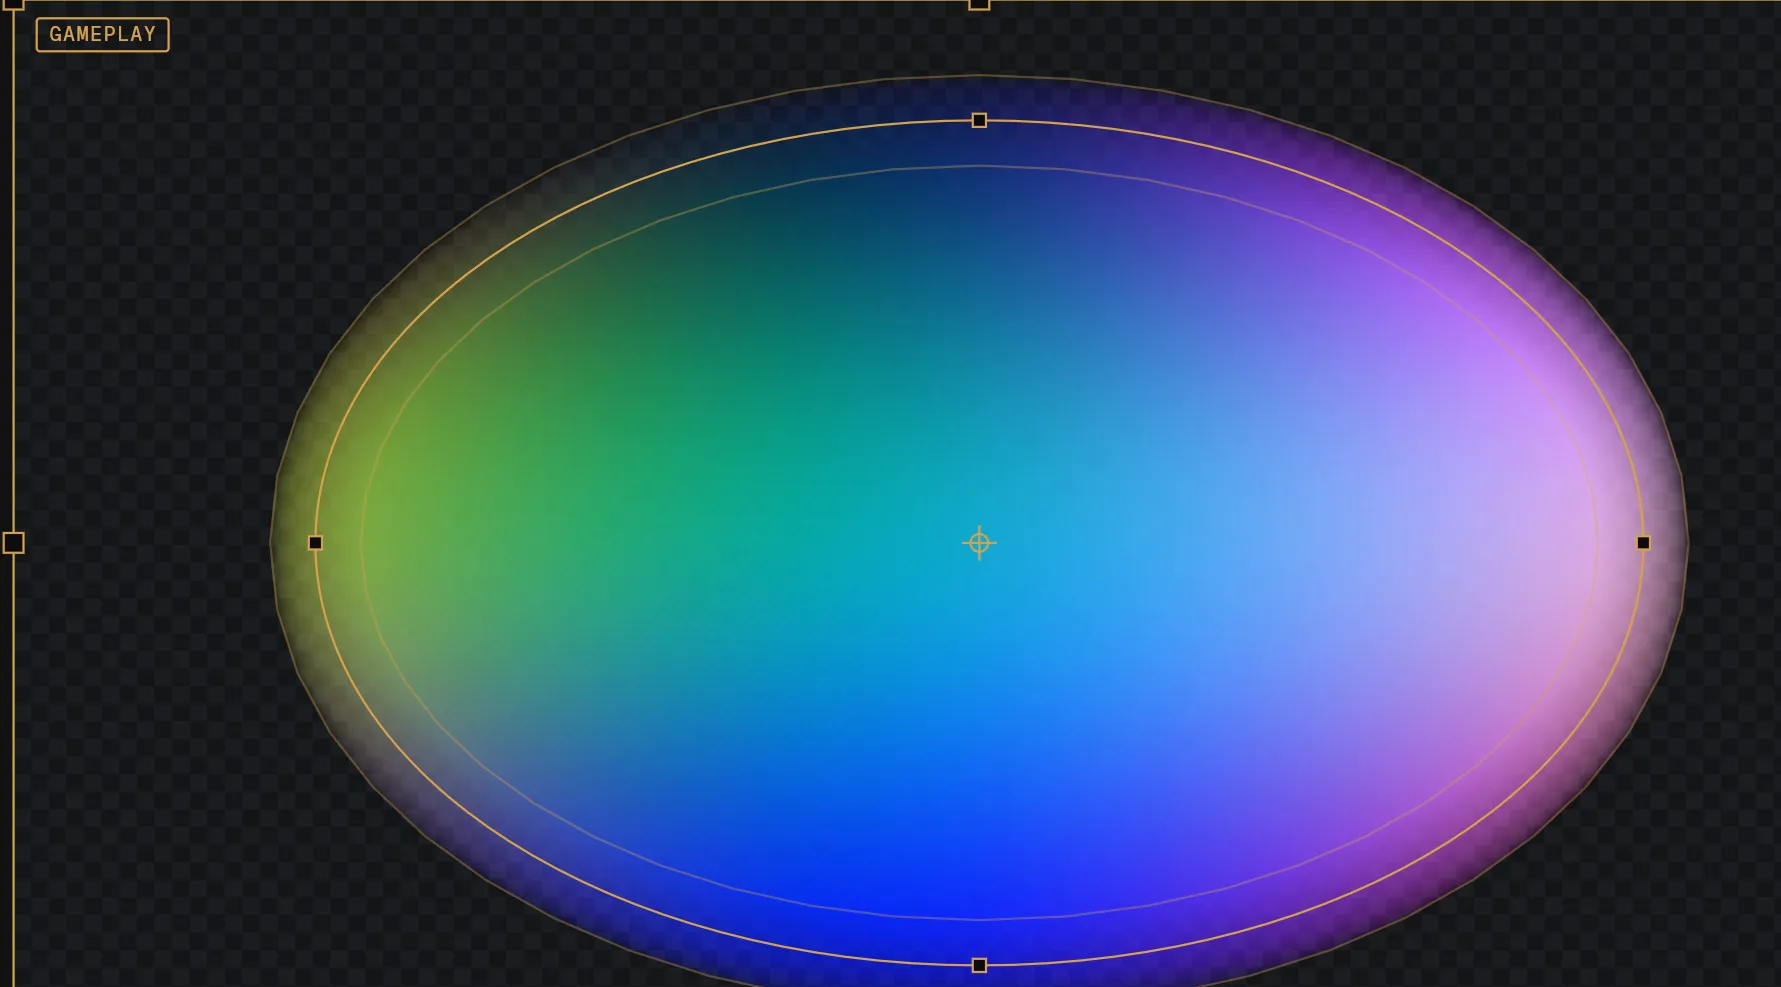
- Select the layer.
- Pick a shape tool or the pen tool.
- Draw in the Viewer.
With no layer selected, the same tools make a shape layer.
Mask properties
Section titled “Mask properties”| Property | What it does |
|---|---|
| Path | The bezier path. Drag its points in the Viewer, and keyframe it to animate the shape. |
| Feather | Softens the edge, half the width either side of the path. |
| Point n feather | That point’s own soft-edge width, once the mask has been given a feather per point. |
| Expansion | Grows or shrinks the mask from its path. |
| Opacity | Adjusts similar to a layer’s opacity property. |
| Mode | How this mask interacts with the layer and other masks. |
| Inverted | Swaps inside for outside. |
A layer can carry several masks, and they combine top to bottom by their mode. Add is the default. Subtract cuts this shape out of what the masks above it built, Intersect keeps where both overlap, and Difference keeps areas only one covers. Lighten keeps the greater of this mask and what the masks above it let through, and Darken the lesser. Setting a mask to None leaves the path drawn and editable while affecting nothing.
A feather per point
Section titled “A feather per point”One edge of a mask can be sharp and another soft. Right-click the mask’s row in the Timeline and pick Feather per point: every point of the shape gets a Point n feather row of its own, starting at the width the mask already had. The width runs smoothly from one point to the next. One feather width on the same menu drops the rows and goes back to a single width.